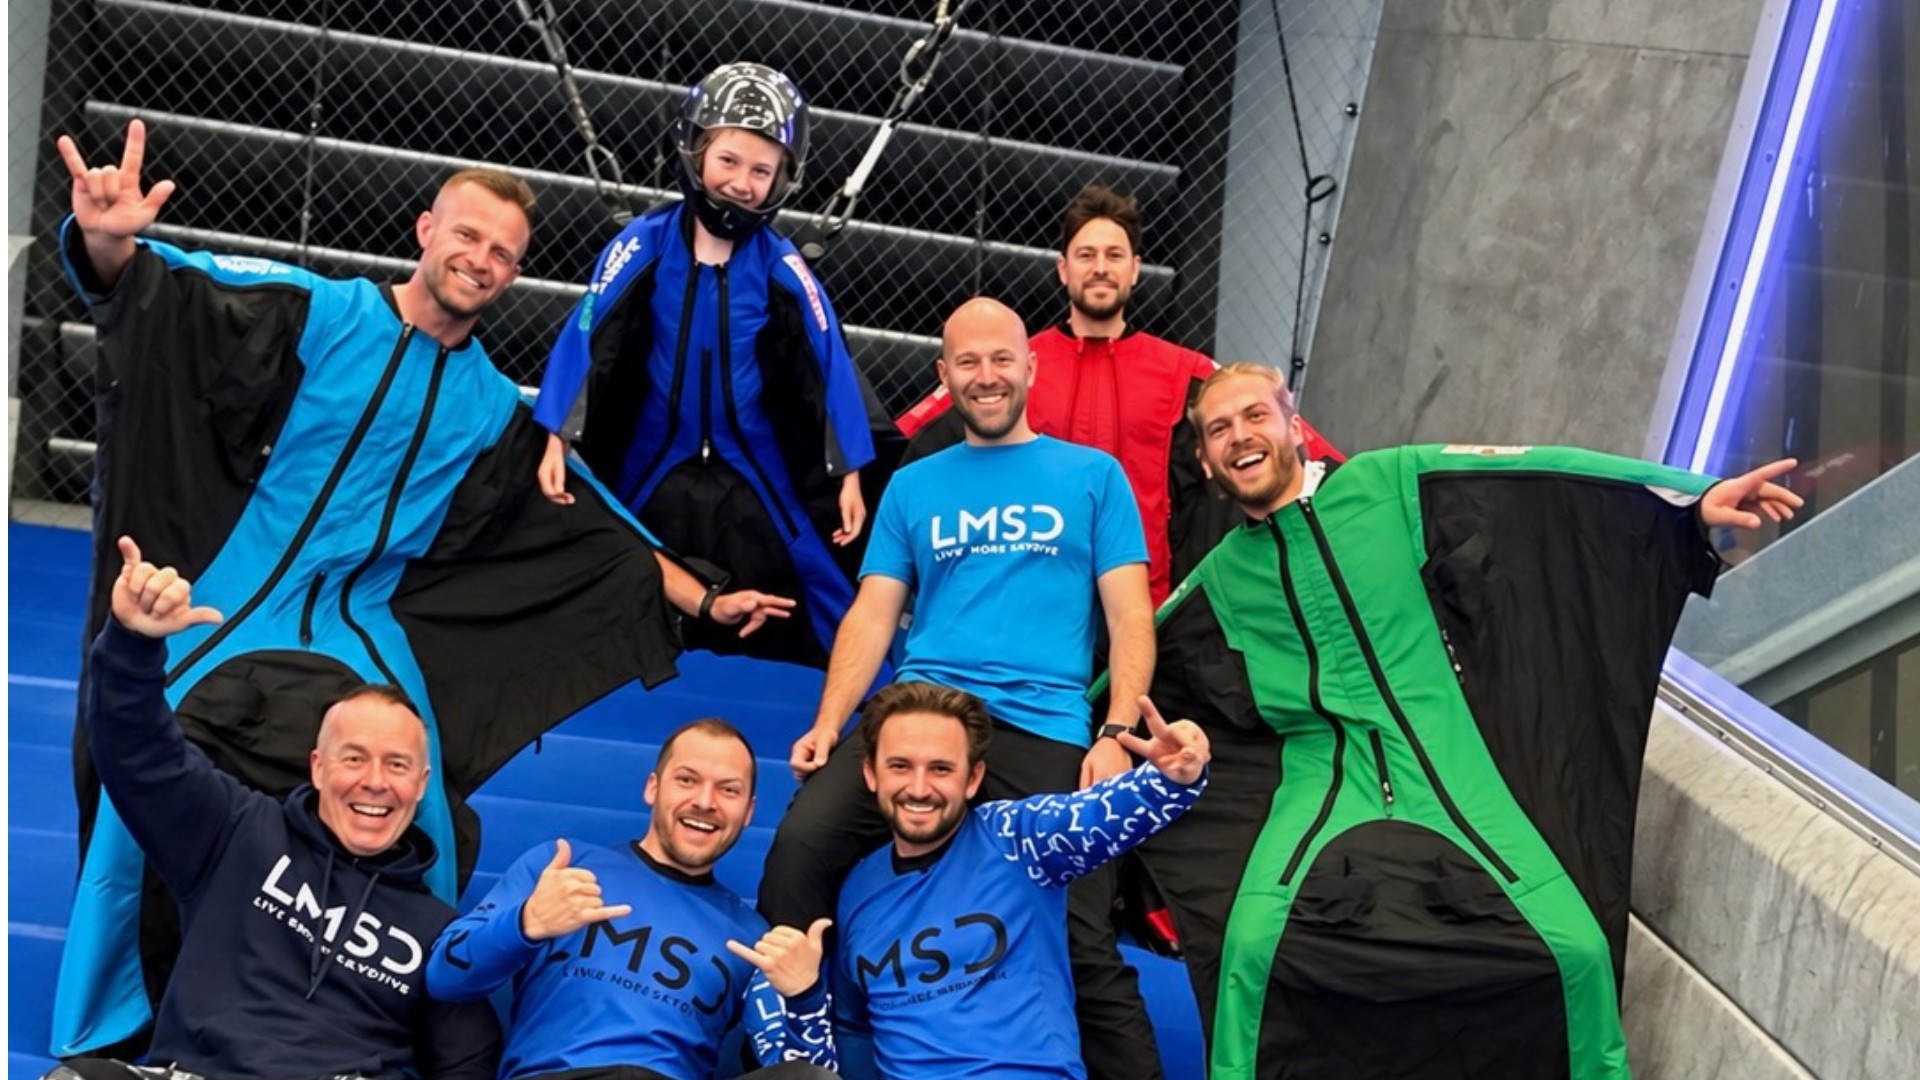
We've made several trips to the Inclined Wingsuit Tunnel in Slovenia, including our first LMSD tunnel camp. These are the things we've learnt about flying there, booking time and getting around.
Your first visit to the tunnel can be hard work. There's an initial progression to complete before you're allowed to fly on your own. For some people it takes 10–20 minutes; for others it can take 1.5 hours. Most people we've seen have managed it within an hour.
Once you're flying solo, the benefits are huge. You can repeat the same movement, get feedback immediately and work on skills that are much harder to practise during a skydive or BASE jump. It works for experienced wingsuit pilots and people who've never flown a wingsuit before.
The tunnel
Inclined is in Žirovnica, a small town in northern Slovenia. The facility is new and purpose-built, with plenty of room to sit between flights, watch others flying or get some work done. There's also a basic kitchen.
The staff are welcoming and the place has a relaxed feel. You'll spend a fair bit of time between flights, particularly if you're doing several sessions a day, so that makes a difference.
How much flying to book
Don't underestimate the physical effort. Your shoulders, arms, neck and core take a beating, especially during the first few days.
For a first visit, our rough recommendation is:
- 20–30 minutes a day if you're usually deskbound or aren't particularly active.
- Up to 40 minutes a day if you're reasonably fit and active.
These are guides, not targets. If your flying starts falling apart because you're tired, adding more time probably won't help.
For a 5-day trip, 2.5 hours in total, split into 30 minutes each day, is a good starting point. If you're staying longer, the tunnel recommends a day off after every 4 days of flying.
Try to book enough time to get through the initial progression, then at least another hour to start working on wingsuit skills. The first stage teaches you to fly safely in the tunnel. The time afterwards is when you'll start getting more out of it.
How sessions are split
Flying is usually booked in 10-minute sessions. That doesn't mean you'll fly for 10 minutes without stopping.
You'll normally rotate with another person in one of two ways:
- Four flights of 2 minutes 30 seconds.
- Three flights of 3 minutes 20 seconds.
The longer flights give you more time to work on an exercise, but they also take more out of you. Your coach will ask what you'd prefer, so there's no need to settle it before you arrive.
The first sessions on the ropes work a little differently. Connecting and disconnecting you takes time, so you'll usually stay in the tunnel and rest between flights rather than having the ropes removed each time.
Equipment and suits
The tunnel provides the suit, helmet, back protector and earplugs.
You can bring your own helmet if it's impact-rated and accepted by the tunnel. We wouldn't bother unless you have a particular reason. It's nice to travel without a bag full of flying gear for once.
Bring gloves. They're not provided, and several people come away with sore hands or little cuts and scrapes. The suit straps can flap against your hands, too. A pair of skydiving gloves is worth packing.
You'll start in the tunnel's suits rather than your own. Their standard training suit is the Havoc. It has a useful balance between arm wings and leg wing, and isn't so big that every small mistake becomes a major event. It's a good suit to learn in and remains useful well beyond your first solo flights.
Flying your own suit
Whether they'll let you fly your own suit depends on its size and your progression.
With a smaller suit, you may be allowed to use it once you've demonstrated good solo flying. For bigger suits, such as an ATC or Freak and upwards, you'll need to complete the tunnel's big-suit progression. As a minimum, that means controlled belly and back flying with smooth transitions.
Even then, you'll go back on the leash when you move to the bigger suit.
From our experience, bigger suits can feel more comfortable and stable in the tunnel. The catch is how quickly things go wrong when you make a mistake.
First stage: flying on the ropes
Your first flights will be on ropes, with the instructors helping to control your position while you learn how the tunnel responds.
You'll need to demonstrate:
- Stable flight.
- Moving forwards and backwards.
- Moving up and down.
- Moving left and right.
- Taking off from and landing on the rear net.
- An emergency stop.
The emergency stop matters. You'll need to show that you know what to do before you're given more freedom to fly.
It's common to find this stage frustrating, even if you've already got plenty of wingsuit jumps. Flying inside a tunnel feels different and you're learning the tunnel as much as you're learning the suit.
Second stage: flying on the leash
After the ropes, you'll move onto a single leash held by an instructor.
The leash gives the instructor a little more room to correct a mistake before it develops. It isn't a substitute for being able to stop yourself, which is one reason you learn emergency stops first.
You'll start by learning how to walk gently in the tunnel. It sounds odd, but you'll understand why when you make your first untidy landing.
You'll then practise taking off, landing and stopping on your belly, and taking off again from that position.
After that you'll repeat the movement exercises from the ropes, adding two more:
- Touching your head on the front net.
- Touching your head on the roof.
The roof exercise is also a safety skill. The instructors want you to keep your head up and open your chest to descend when you touch the roof. Looking down can produce more lift, causing your body to hit the roof before you drop back towards the floor. They'll teach and supervise the exercise in the tunnel.
Flying solo
Once you've demonstrated the skills on the leash, the instructor will hand you the end they've been holding.
You're flying on your own.
On your next session, you'll normally fly without a leash at all. The instructor may then put on a wingsuit and join you in the tunnel. Up to this point, they've usually been standing there with you.
This is the stage most people are waiting for. You can relax a bit, spend more time flying and start working on movements rather than concentrating entirely on staying in control.
Don't get too hung up on how long it takes to reach this point. We've seen people get there in 10–20 minutes and others take 1.5 hours. Both can make good progress afterwards.
Coaches and how they teach
Every coach follows the same broad progression, but we've noticed differences in how they teach. This is our observation, not something the tunnel has told us.
Some coaches want every movement smooth and precise before moving you on. Others are happy for you to demonstrate a skill a bit scrappily, progress to the next exercise and refine the earlier one later.
Your coach may also change from day to day.
It can be frustrating when one coach moves you forward and another asks you to repeat something you thought you'd finished. We've found the mix useful. Sometimes you need to move on; sometimes you need someone to pick apart your flying.
After your first solo flights
The coaches will keep improving your basic flying, then introduce exercises that make you less dependent on your arm wings.
This includes asymmetric flying: one arm in, both arms in and different arm positions while keeping control with the rest of your body. It's surprising how well you can fly without using your arms much at all.
You'll also start doing things such as passing batons, taking grips, unders and overs.
After that there's back flying, transitions and plenty more refinement to work through. There's enough to keep you returning for a long time.
Coached or uncoached time?
You must book coached flying until the tunnel signs you off as a Pro Flyer. That means you've demonstrated that you can fly independently, without the leash. Until then, uncoached time isn't an option.
Once you're signed off, you can choose between coached and uncoached sessions. You can also start looking at the difference between peak and off-peak prices. On your first visit, you won't know how much of your booked time it'll take to reach that point, so plan around coaching and make the most of it.
Flying with another person who isn't a coach comes later, once the tunnel is happy for you to do so.
Getting there from the UK
Fly into Ljubljana Airport. Check the flight options for your dates, as routes and schedules change.
It's a small airport and getting to Žirovnica is straightforward. We've used GoOpti to arrange transfers. Allow roughly 30 minutes by road from the airport, depending on traffic and your drop-off.
You won't need a car for a tunnel-only trip. Žirovnica is small, and the places you're likely to use are within walking distance. A car becomes more useful if you're planning to visit dropzones, go jumping or explore further afield.
Where to stay
There's a hotel across the road from the tunnel, although it's on the more expensive side. There are also smaller guesthouses and apartments nearby, including this cheaper guesthouse.
If you're staying for several days, somewhere with a kitchen is worth considering.
Žirovnica has a few bars and the prices are good, but food options are fairly limited. You'll find pizza and toasties easily enough. If you want more choice, book a hotel with a restaurant or buy food from the supermarket and cook.
There isn't a huge amount happening in town. That's not much of a problem when you're there to fly, rest and do it all again the next day.
BASE jumping nearby
There's plenty of jumping in the wider area, but think about how tired you are after flying. Tunnel sessions can leave you more fatigued than you expect.
Slider-down
There are a few smaller objects nearby, including a bridge of around 60 m with straightforward access and a good landing area. Some of our group jumped it several times during the trip.
Details belong in the LMSD exit database.
There are other objects in the wider area, including chimneys and industrial structures. Get current information and assess the access, object and landing area for yourself. Don't assume an old account of a jump means conditions are still the same.
Wingsuit BASE
There are numerous wingsuit exits within around an hour's drive, but most aren't realistic intermediate jumps.
Some require bigger suits because of the distance to a suitable landing area, rather than because the line itself is especially difficult. Others involve a long hike or awkward car shuttles.
There are some more intermediate-friendly options. Check the nearer landing areas in person before committing, because they can change. There are also a lot of trees.
Many exits are in national parks or protected areas, with access restrictions and the possibility of problems with rangers. Ask local jumpers about current access and conditions before making plans.
A number of the tunnel instructors have jumped these exits and know the area very well. They're a good source of local information.
Skydiving and longer trips
Bovec dropzone is roughly 2.5 hours away by car. It's popular with wingsuiters and has excellent mountain views.
And if you're planning a bigger BASE trip, Monte Brento is under 6 hours away by road.
Coming on an LMSD tunnel camp
We've run our first camp at Inclined and plan to return.
On an LMSD tunnel camp, we'll take care of airport transfers, accommodation and the flying schedule. You can concentrate on the flying, with other people around to watch, learn from and share the week with.
Before you go
For a first trip, book enough time to clear the initial progression and enjoy some solo flying afterwards. Don't fill every day with as much tunnel time as you can afford. You'll learn more when you can still hold a flying position properly.
Use the tunnel's equipment, bring a pair of gloves and be open to different coaches. You might find the first hour harder than expected. Once you're flying on your own, you'll understand why people keep going back.